

Last week I put quite a bit of work in my Dungeon project and also had a look what else I can do with modelling clay apart from sculpting one-of pieces. I came across some very good resources outlining the use of pressure molds for creating brick or cobblestone textures on bases or duplicating bits (you’ll find a list at the end of the post). Most guys use greenstuff for the molds, but given that greenstuff is quite expensive I was wondering if I could use either Original Sculpey or Fimo for such molds and then make casts using the two kinds of clay or even cheap air-dry clay.
The plan was to make molds for different styles of brick walls to fit out my dungeon and some cobblestone bases for my Bones miniatures. I also made some molds of Hirst Arts pieces and some other bits just to see what results I could get.
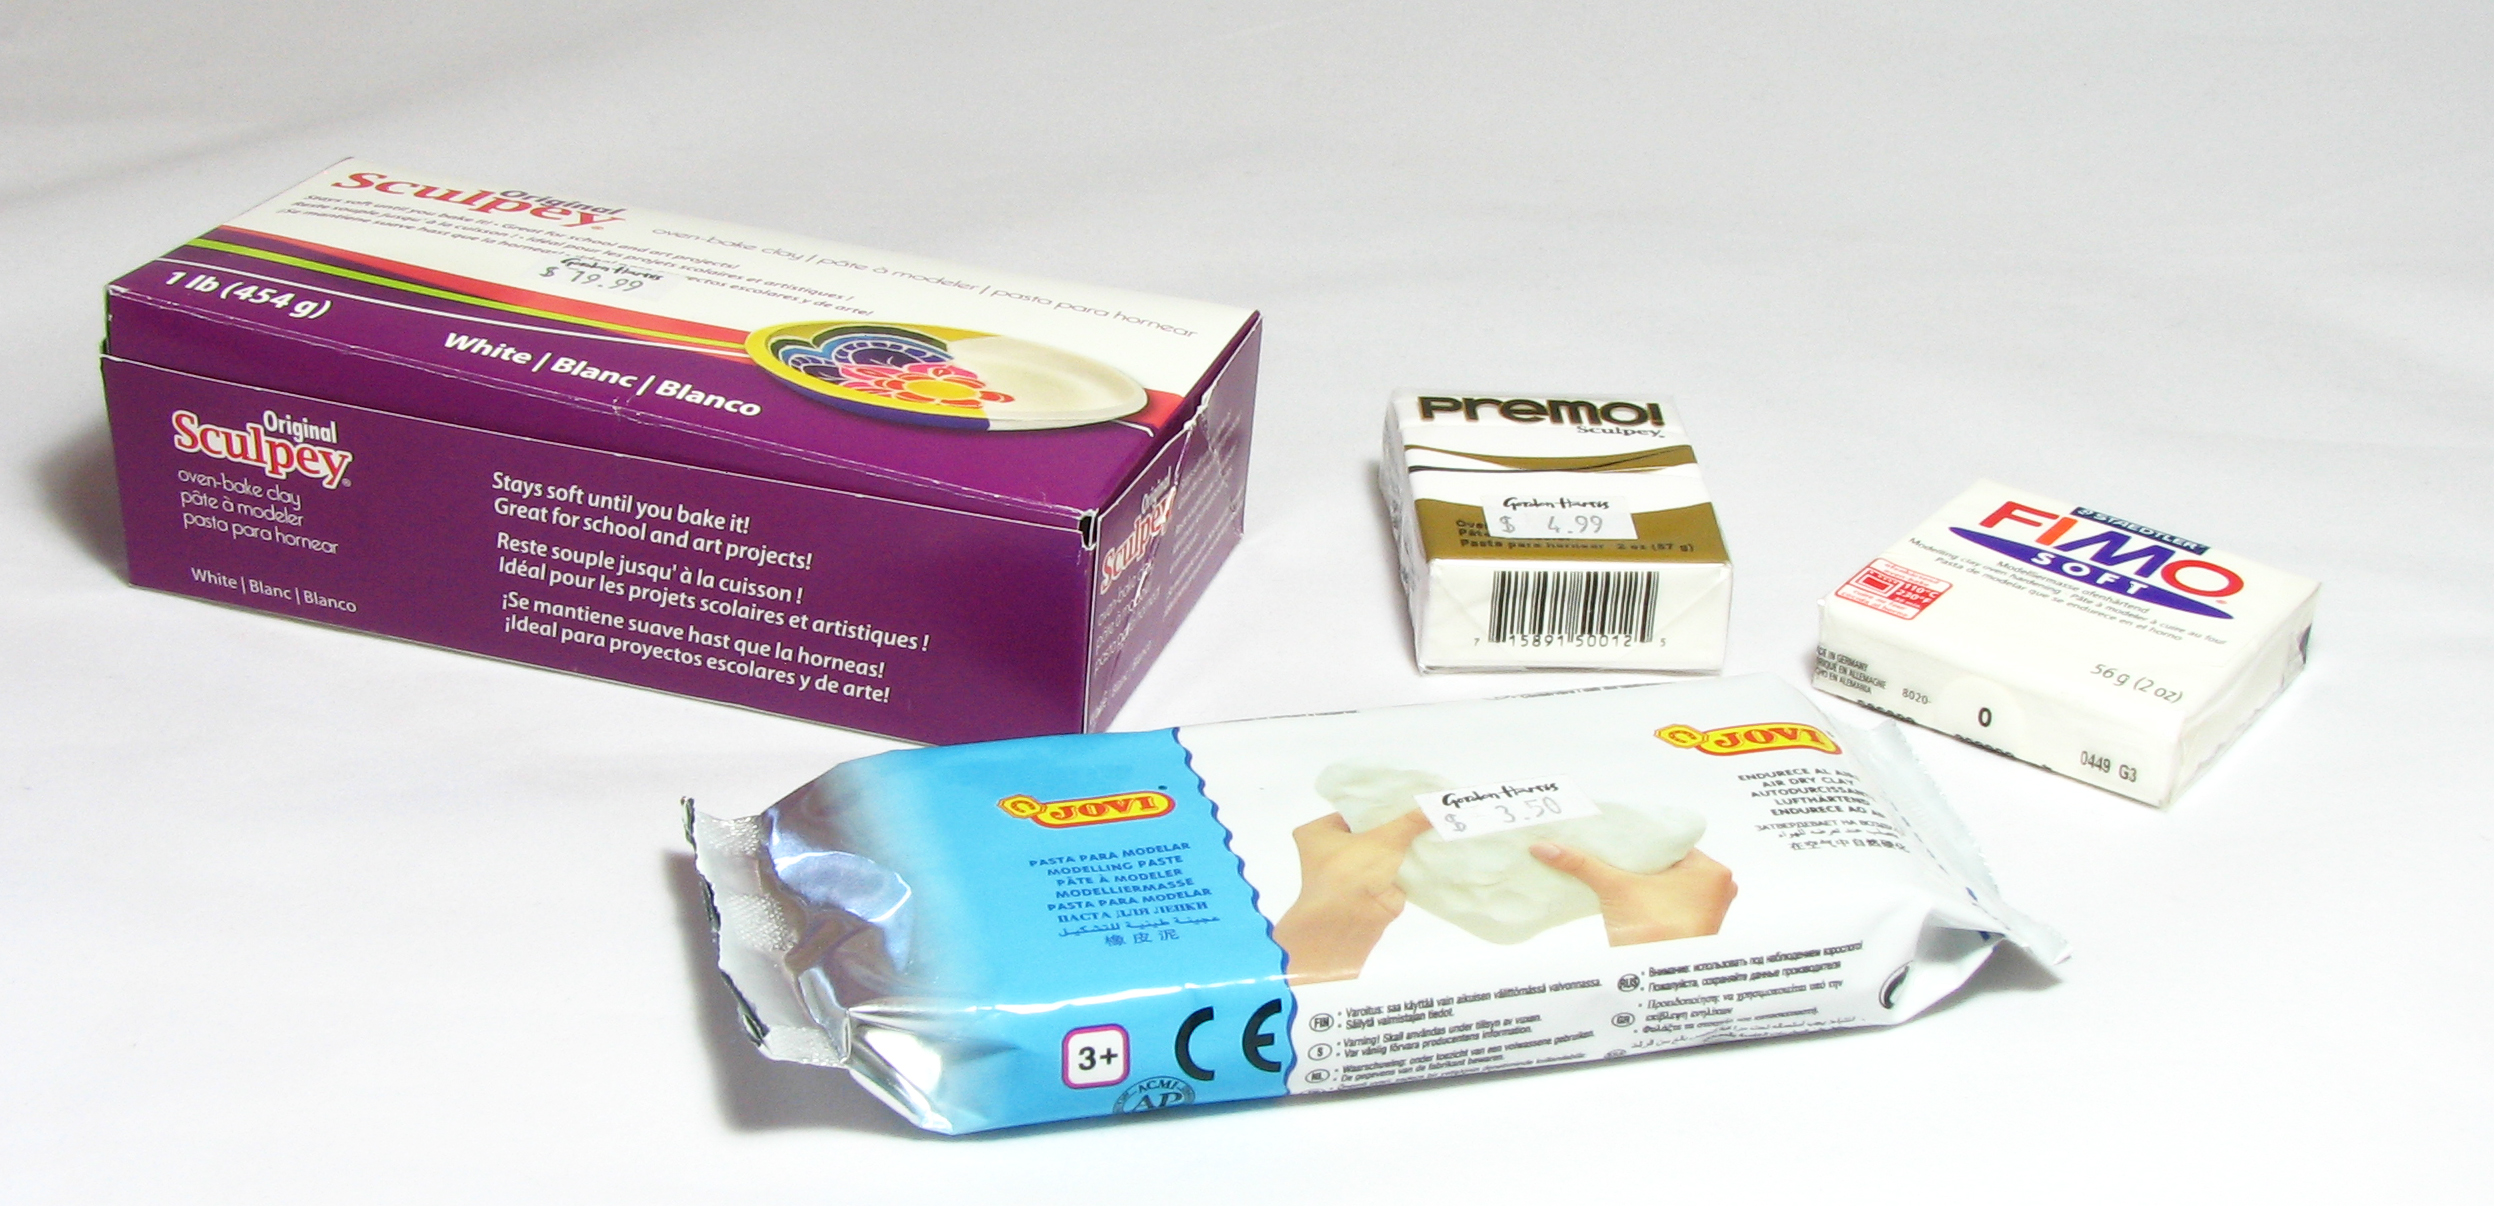
What do you need for this project?
- Modelling Clay – I used Original Sculpey (20 NZ $ for 454g) and Fimo Soft (5.50 NZ $ for 57g) for the masters and the press molds. You can obviously use greenstuff (25 NZ $ for 100g) or any other clay, too. The air-dry clay in the front costs 3.50 NZ $ for 250g, however, after hardening it is much more brittle than polymer clays.
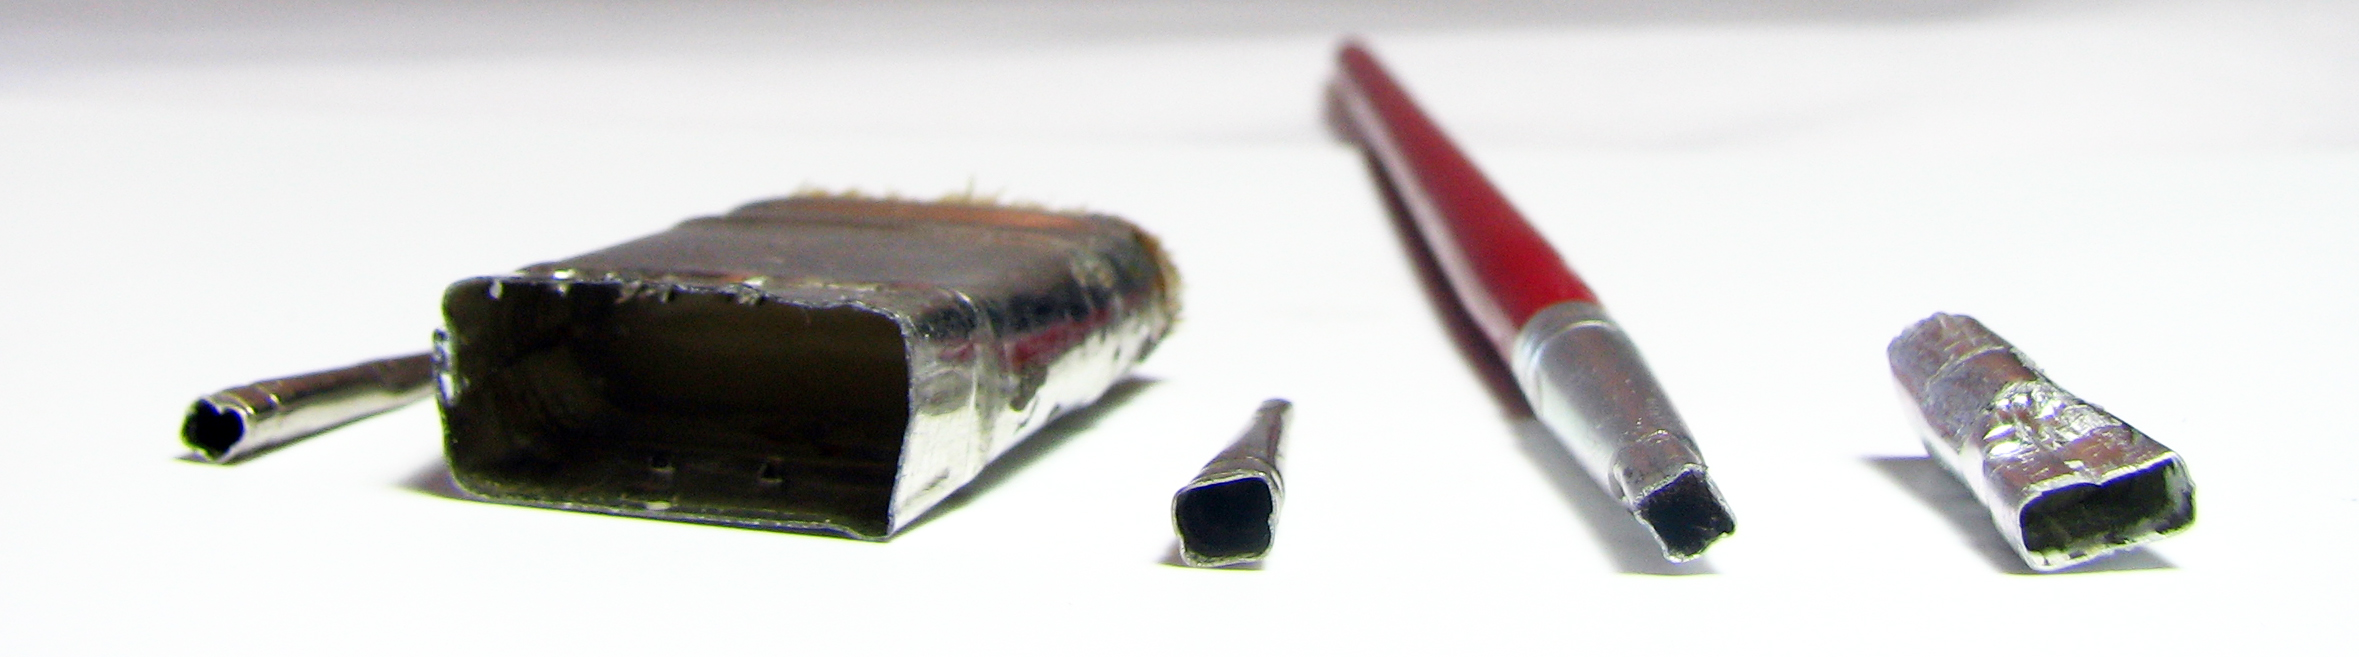
- Brick cutters (basically a cookie cutter for bricks) made out of old brushheads to get an even brick or cobblestone pattern.
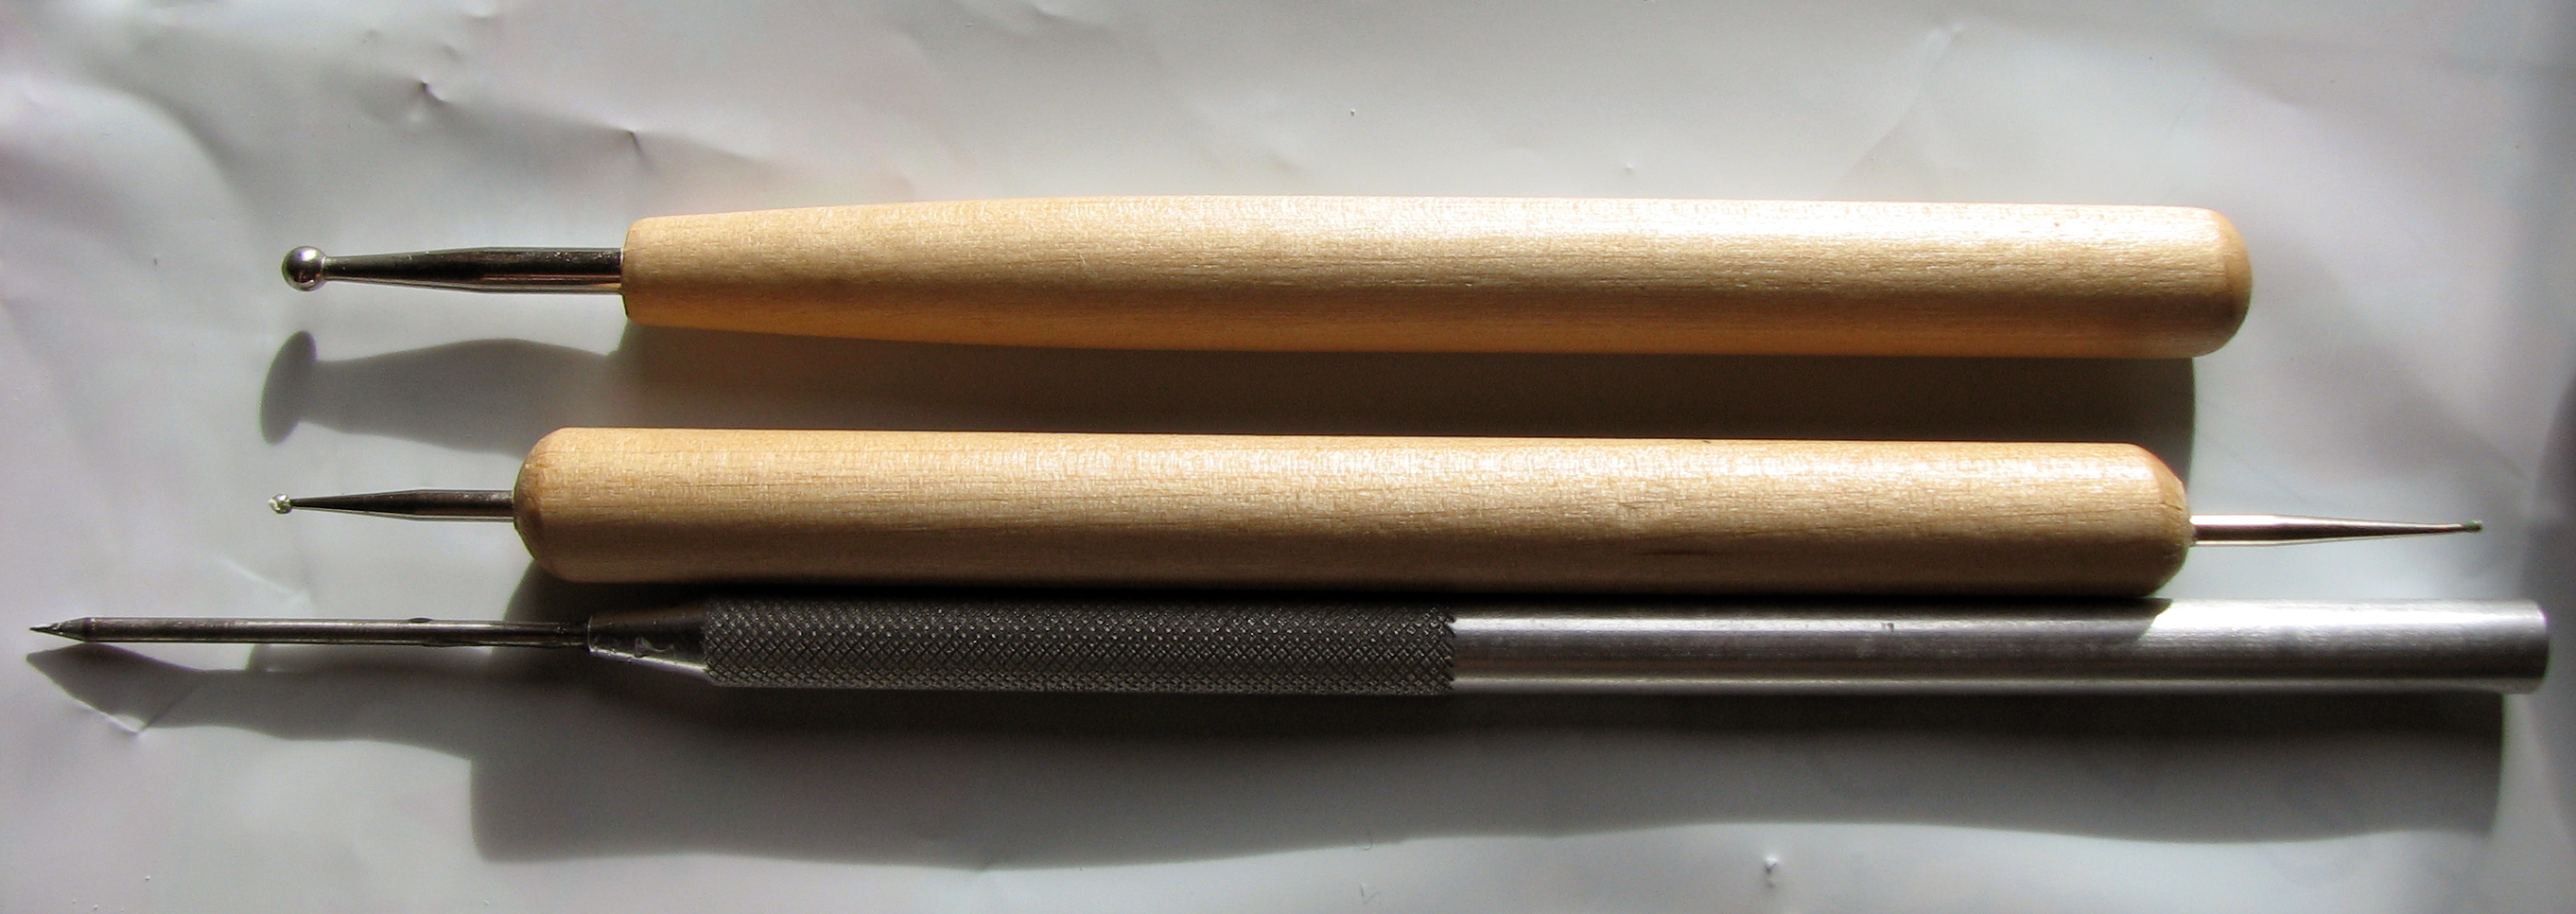
- Sculpting tools.
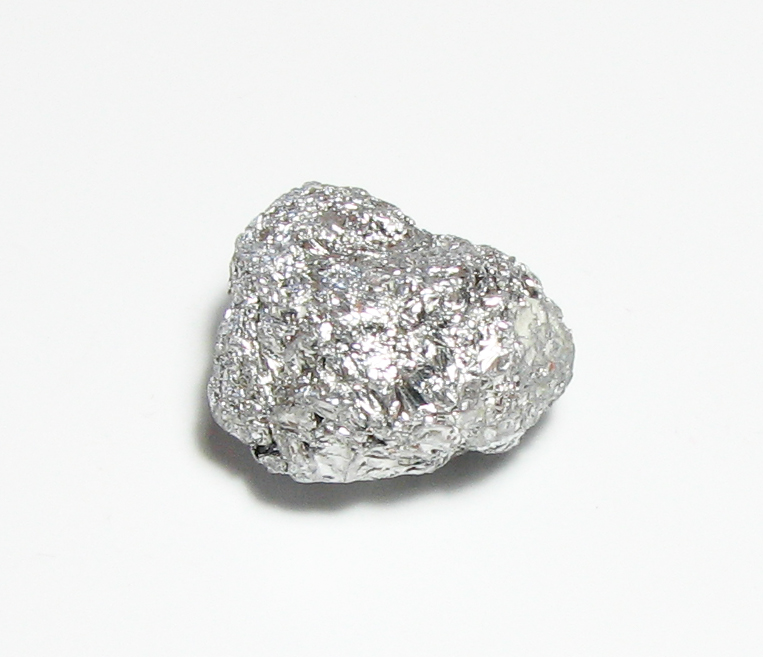
- Rockinator(TM) – a piece of crumbled up tin foil to create a rock like texture on your pieces.
- Baby powder so that your master or press mold doesn’t stick to the clay.

- Patience – at least for the sculpting bit, after that it goes a hell of a lot faster.
Sculpting the master
The idea is quite simple: First you sculpt a master, turn it into a negative and then into a positive again. Given you have to create the master only once you can invest a bit more time in making it really nice. Adding details like cracks and differences in the shape or hight of stones really differentiates your sculpt from bought ones or simpler approaches were you just carve bricks into styrofoam.
For the master Original Sculpey is not very suitable, as it is to soft – even after refrigeration – and tends to drag. So I recommend using Fimo Soft to lay down a basis.
Roll out the Fimo on a piece of metal or glass until it is around 3mm thick and the surface is nice and smooth. Depending on what you are going for you can now use the brick cutter to lay out your basic pattern or if you want your bricks/stones to look weathered roll a crumbled up ball of tin foil gently over the clay, creating a random texture of indentations.
Unlike Original Sculpey Fimo Soft gives the stones a rather rounded shape, while Original Sculpey leads to flattish stones with “broken” edges. If you don’t like the rounded shape you can gently roll over the pattern to flatten it slightly.
While you have now a nice even pattern the gaps between the bricks or stones might not be as deep or wide as you would like. Go in with the sculpting tools and trace the gaps, making them deeper, removing some of the clay to give the impression of the mortar being brittle in places.
Finally add cracks, chips and blemishes. You can also remove some clay to depict missing stones or add some clay to make some of the stones protrude, all aimed on giving the piece more interest. If you add clay you might use Original Sculpy, as it is easier to spread it out.
Now put your master in the oven. 30 minutes on 130 degree Celsius will do the trick, but better check regularly on your piece, as the clay can burn quickly if overheated or baked for too long. 10min increments are a safer way. Some peopel also use corn starch to insulate the piece.
The press mold
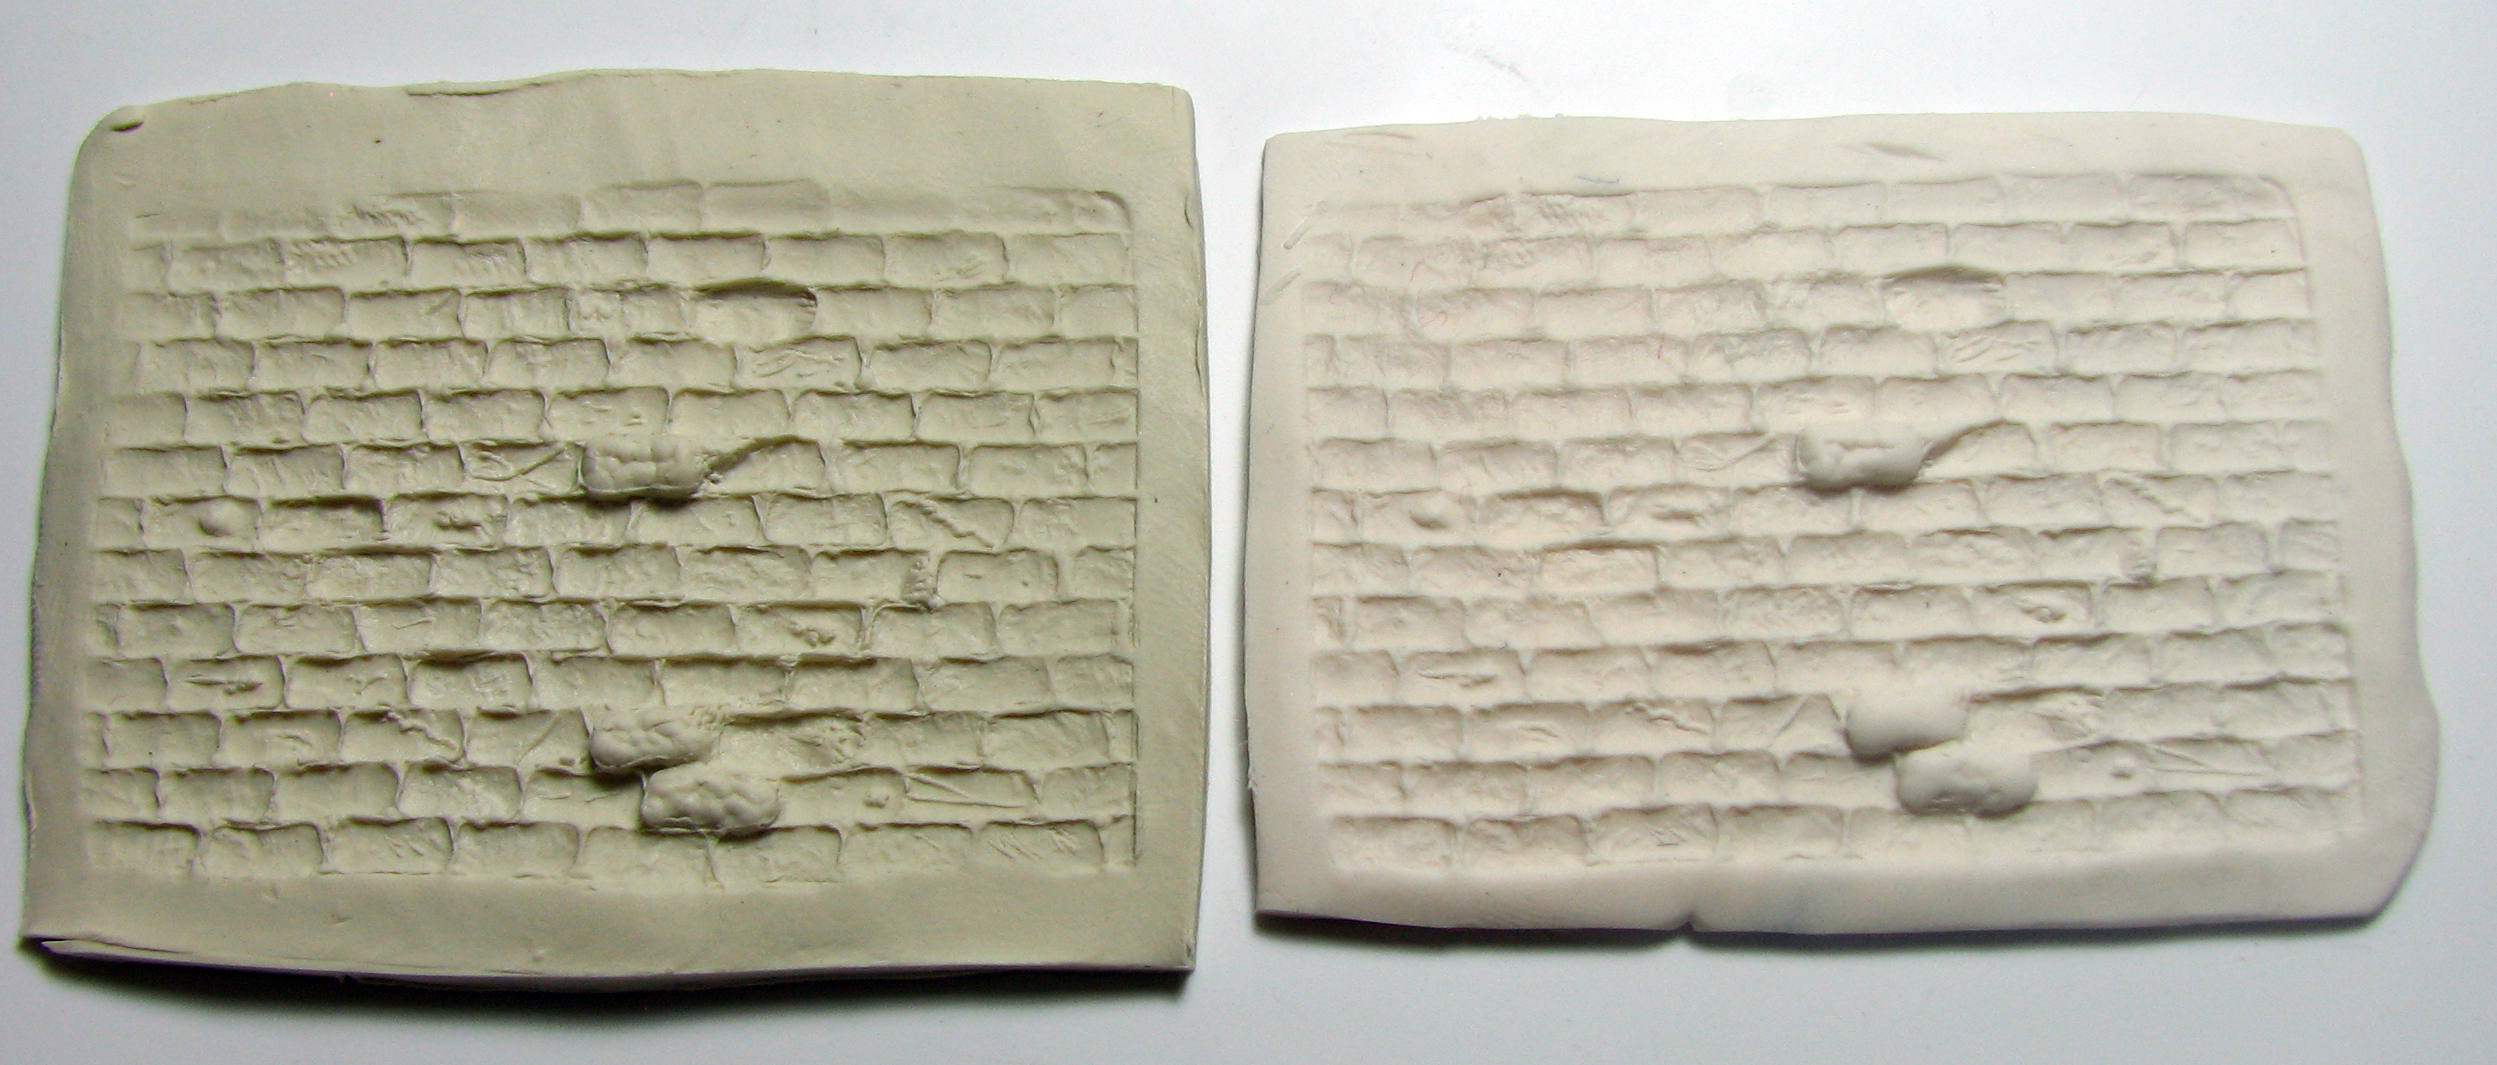
After your master has cooled down it is time to make the press mold. I conducted a little experiment and made two press molds: one using Original Sculpey and the other using Fimo Soft. Surprisingly the original Sculpey provided a slightly better result, most likely due to it being softer and reproducing the detail more easily. More importantly it is cheaper than the Fimo, so definitely a reason to use it instead of Fimo Soft.
Again roll out your clay on a piece of metal or glass, but this time try to make it slightly thicker (around 6mm), so that you won’t push through the clay and have holes in your mold. Make sure the surface is level and smooth and then transfer the clay into the fridge. This step is necessary to avoid dragging and excessive stickiness.
After 10 minutes take the clay out and dust it slightly with some baby powder. Distribute the powder evenly all over the clay and do the same with the master. Don’t overdo it or you will lose detail.
Now firmly press the master into the prepared clay. Make sure that all parts of the master sink in properly. Remove the master, but try to do it in a vertical movement, so that your mold will not deform when taking the master out.
Transfer the mold into the oven and bake again for 30min on 130 degree celsius. Due to the thickness of the clay you might need to add some more minutes, but check regularly if the clay is getting brown, because that is a sign of burning it.
The cast
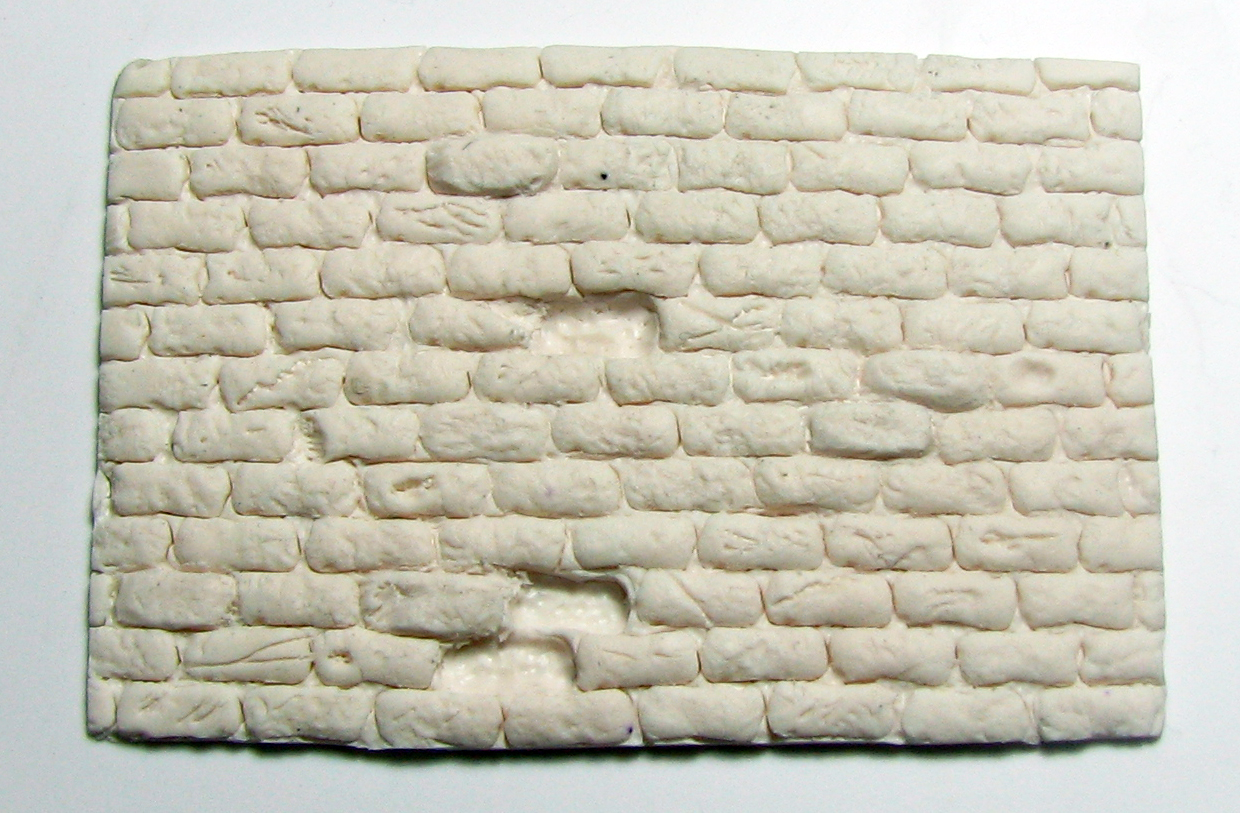
The last step is now very easy: After the press mold cooled down roll out another piece of clay. I recommend Fimo Soft for this, cooled down Original Sculpey or a cheap air-dry modelling clay with enough firmness, given you don’t want it to drag.
A word of caution: The air-dry clay might be more brittle after hardening than the other clays after baking. This might be ok for a base texture, but for the walls it might be better to use a superior material, which you can cut, file and sand. Both Fimo Soft and Original Sculpey can be treated this way. The air-dry clay tends to break and is overall not as flexible.
Now dust everything again with baby powder and press your mold into the clay. Remove it in a vertical movement and look if all the details reproduced nicely. If you are not quite satisfied with some parts you can now use the sculpting tools to add or remove parts, change the pattern slightly for variation and so forth. Either bake the finished piece or let it sit for 24h if it is air-dry clay.

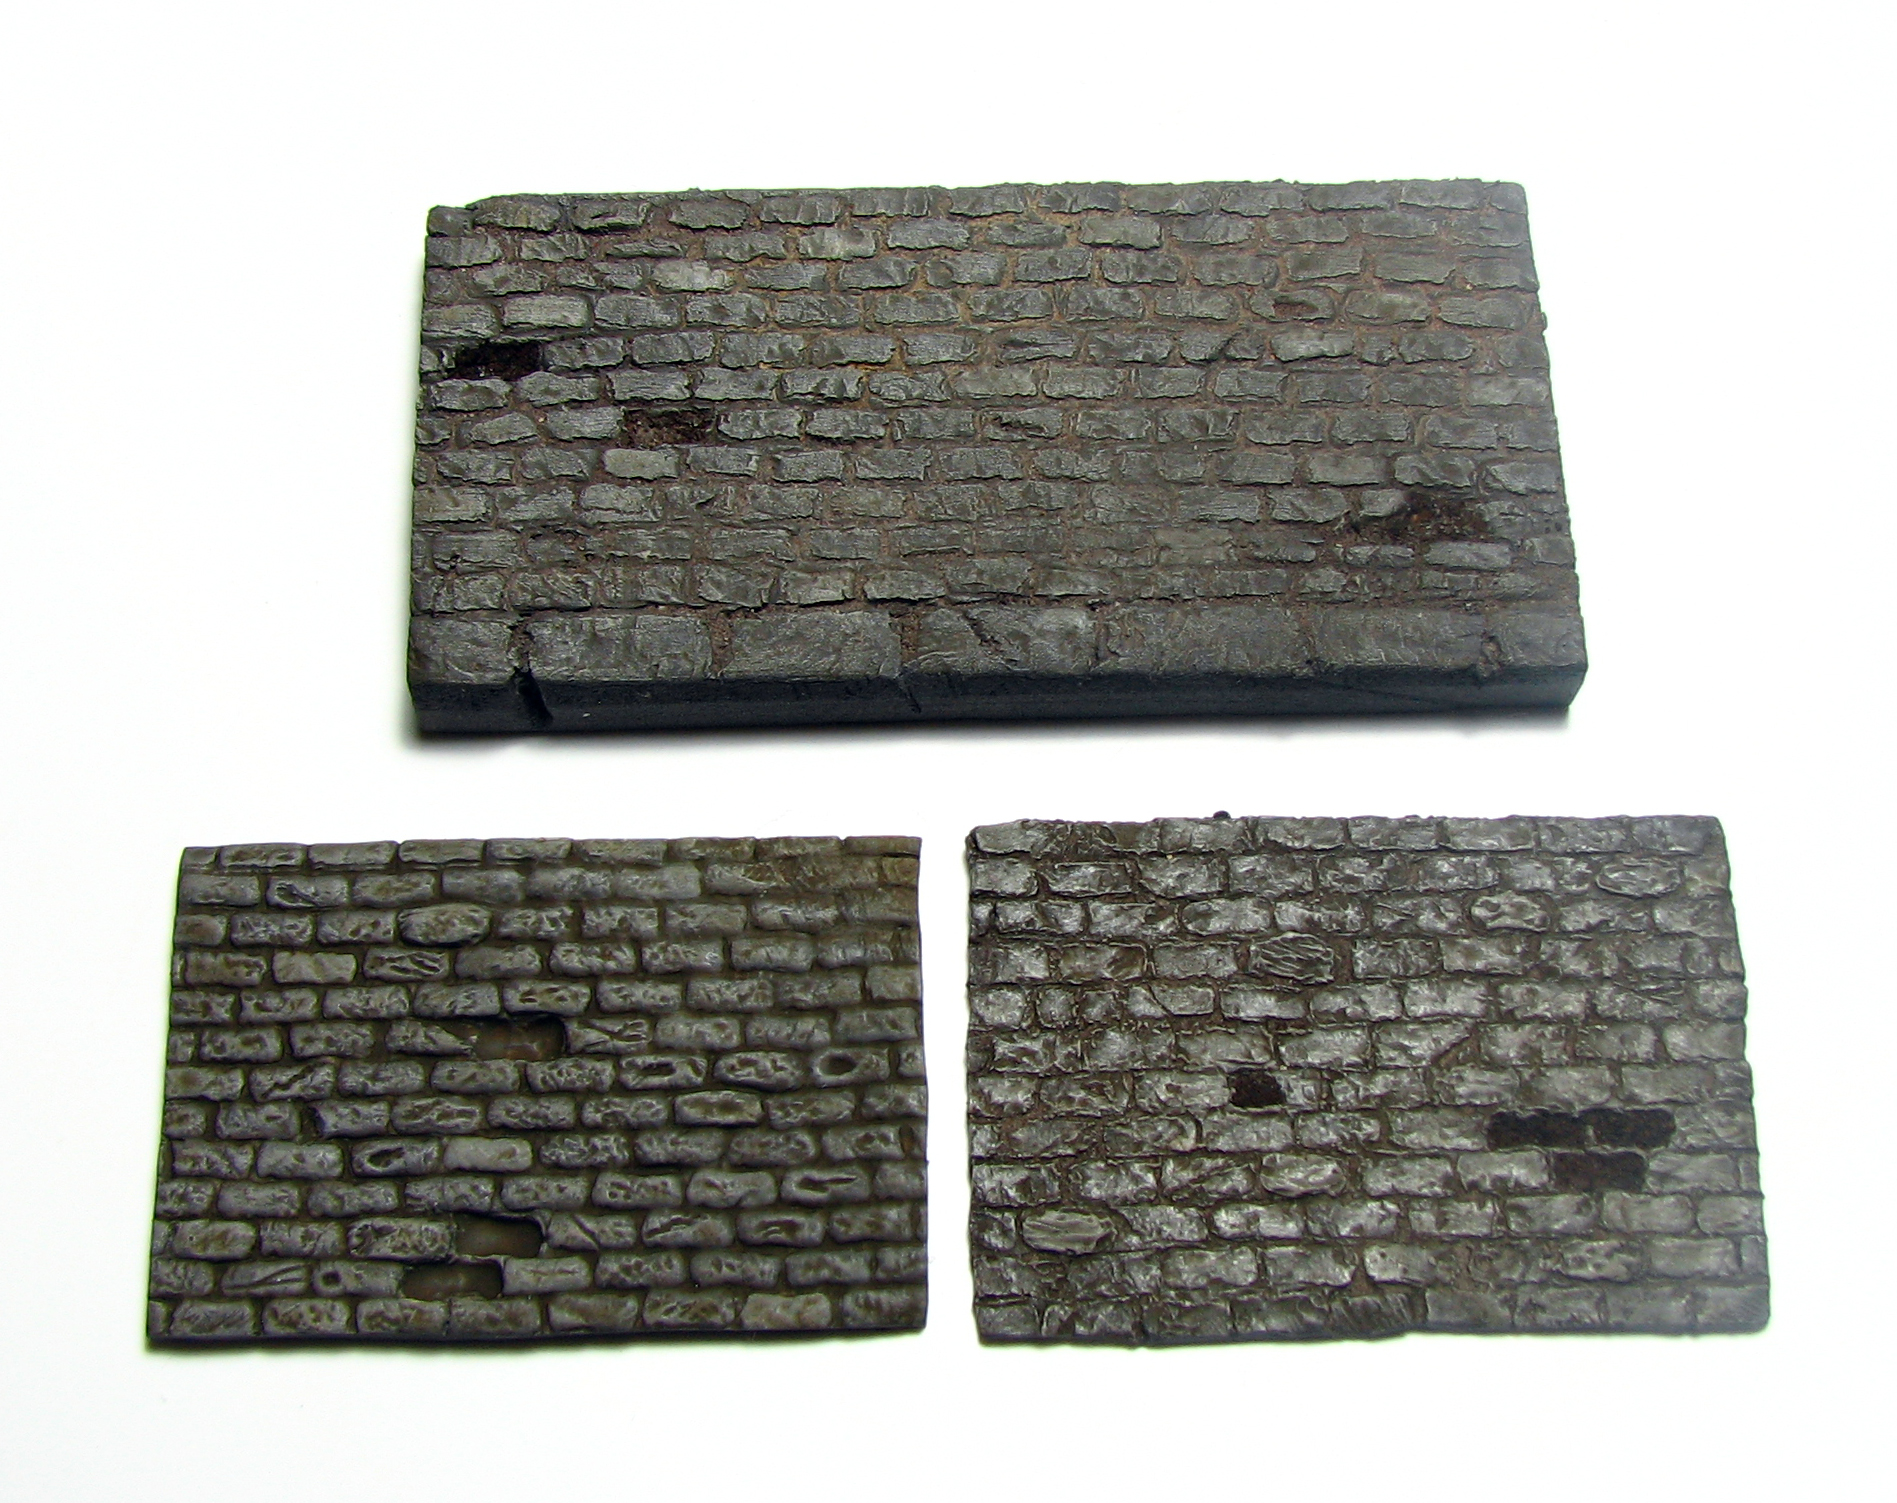
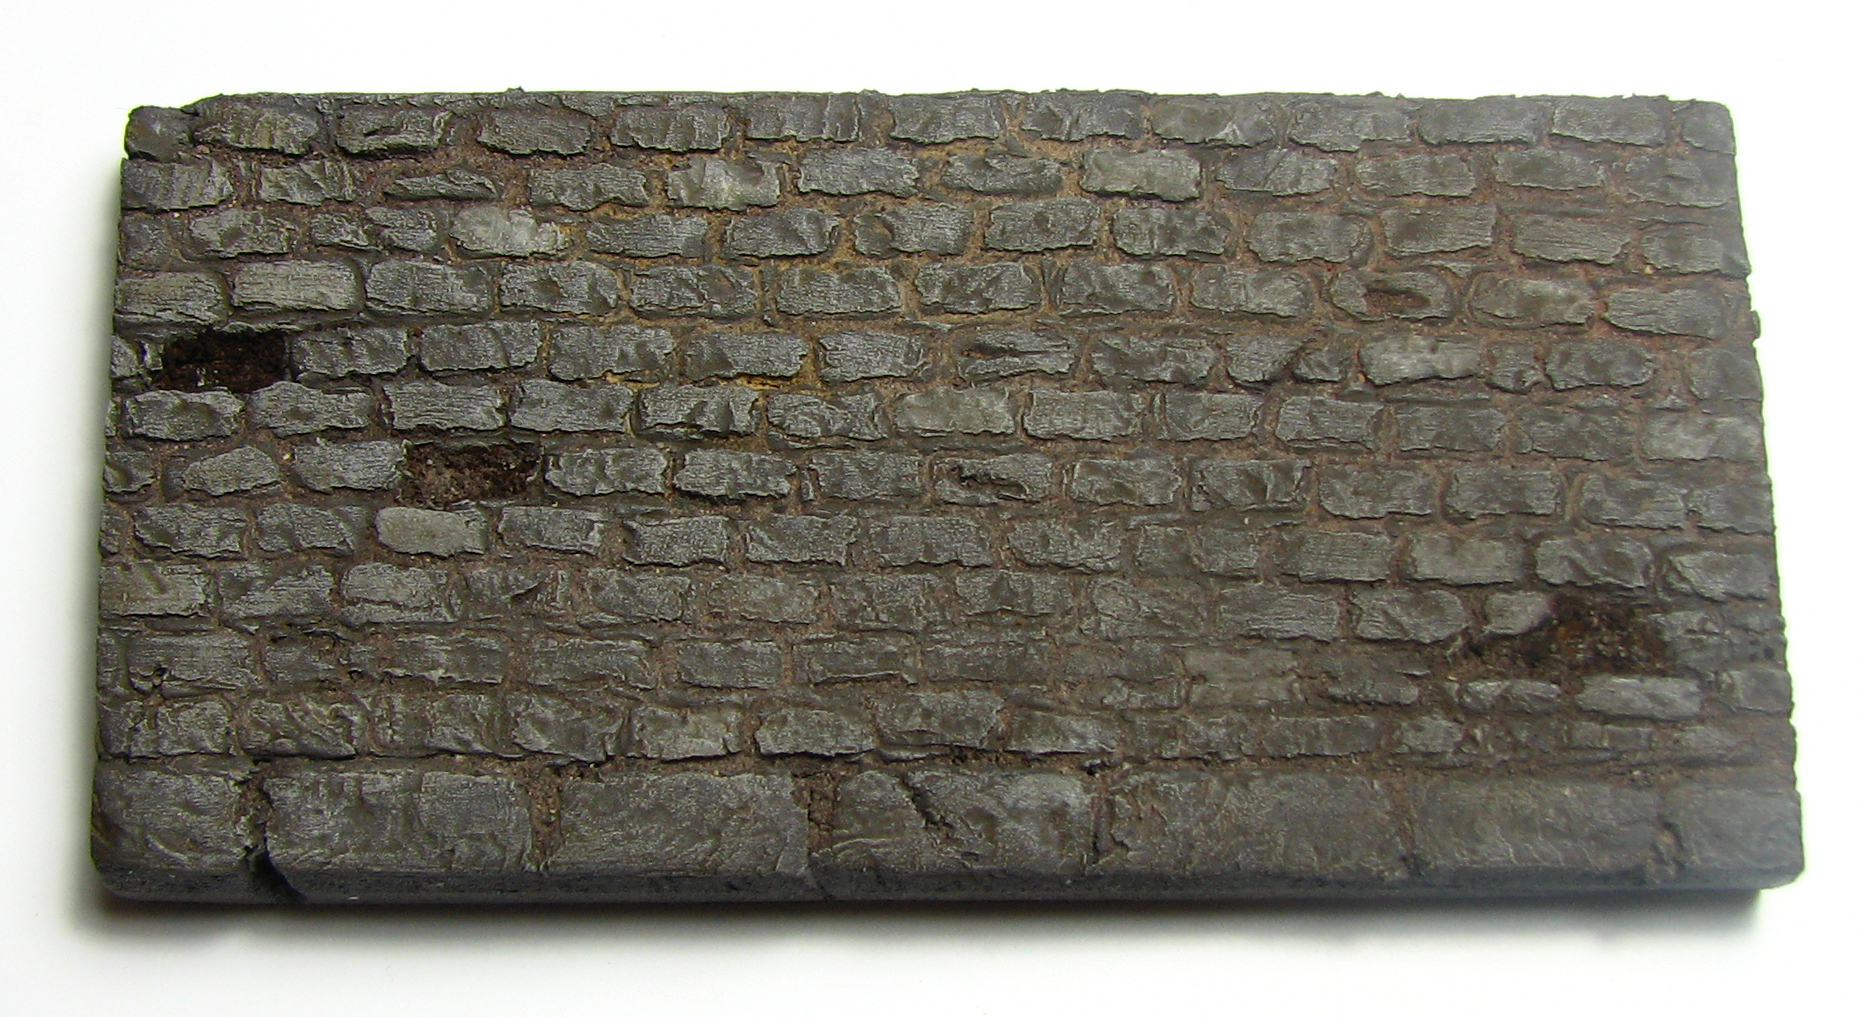
Painting
Using the method outlined in a former post I painted the walls dark grey, drybrushed with lighter tones and finally washed them with a dark brown mixture of pigment and matt varnish. I also attempted to reproduce the texture of mortar using light grey and dark grey pigments. Just apply some pigment on the piece, rub it into the gaps and remove the excess with a kitchen towel, so that it sticks only to the gaps between the bricks. With some pigment fixer or Isopropyl alcohol you can avoid making a mess when you handle your wall segments. Were the stones are missing you can add some soil using once again pigments or sand.

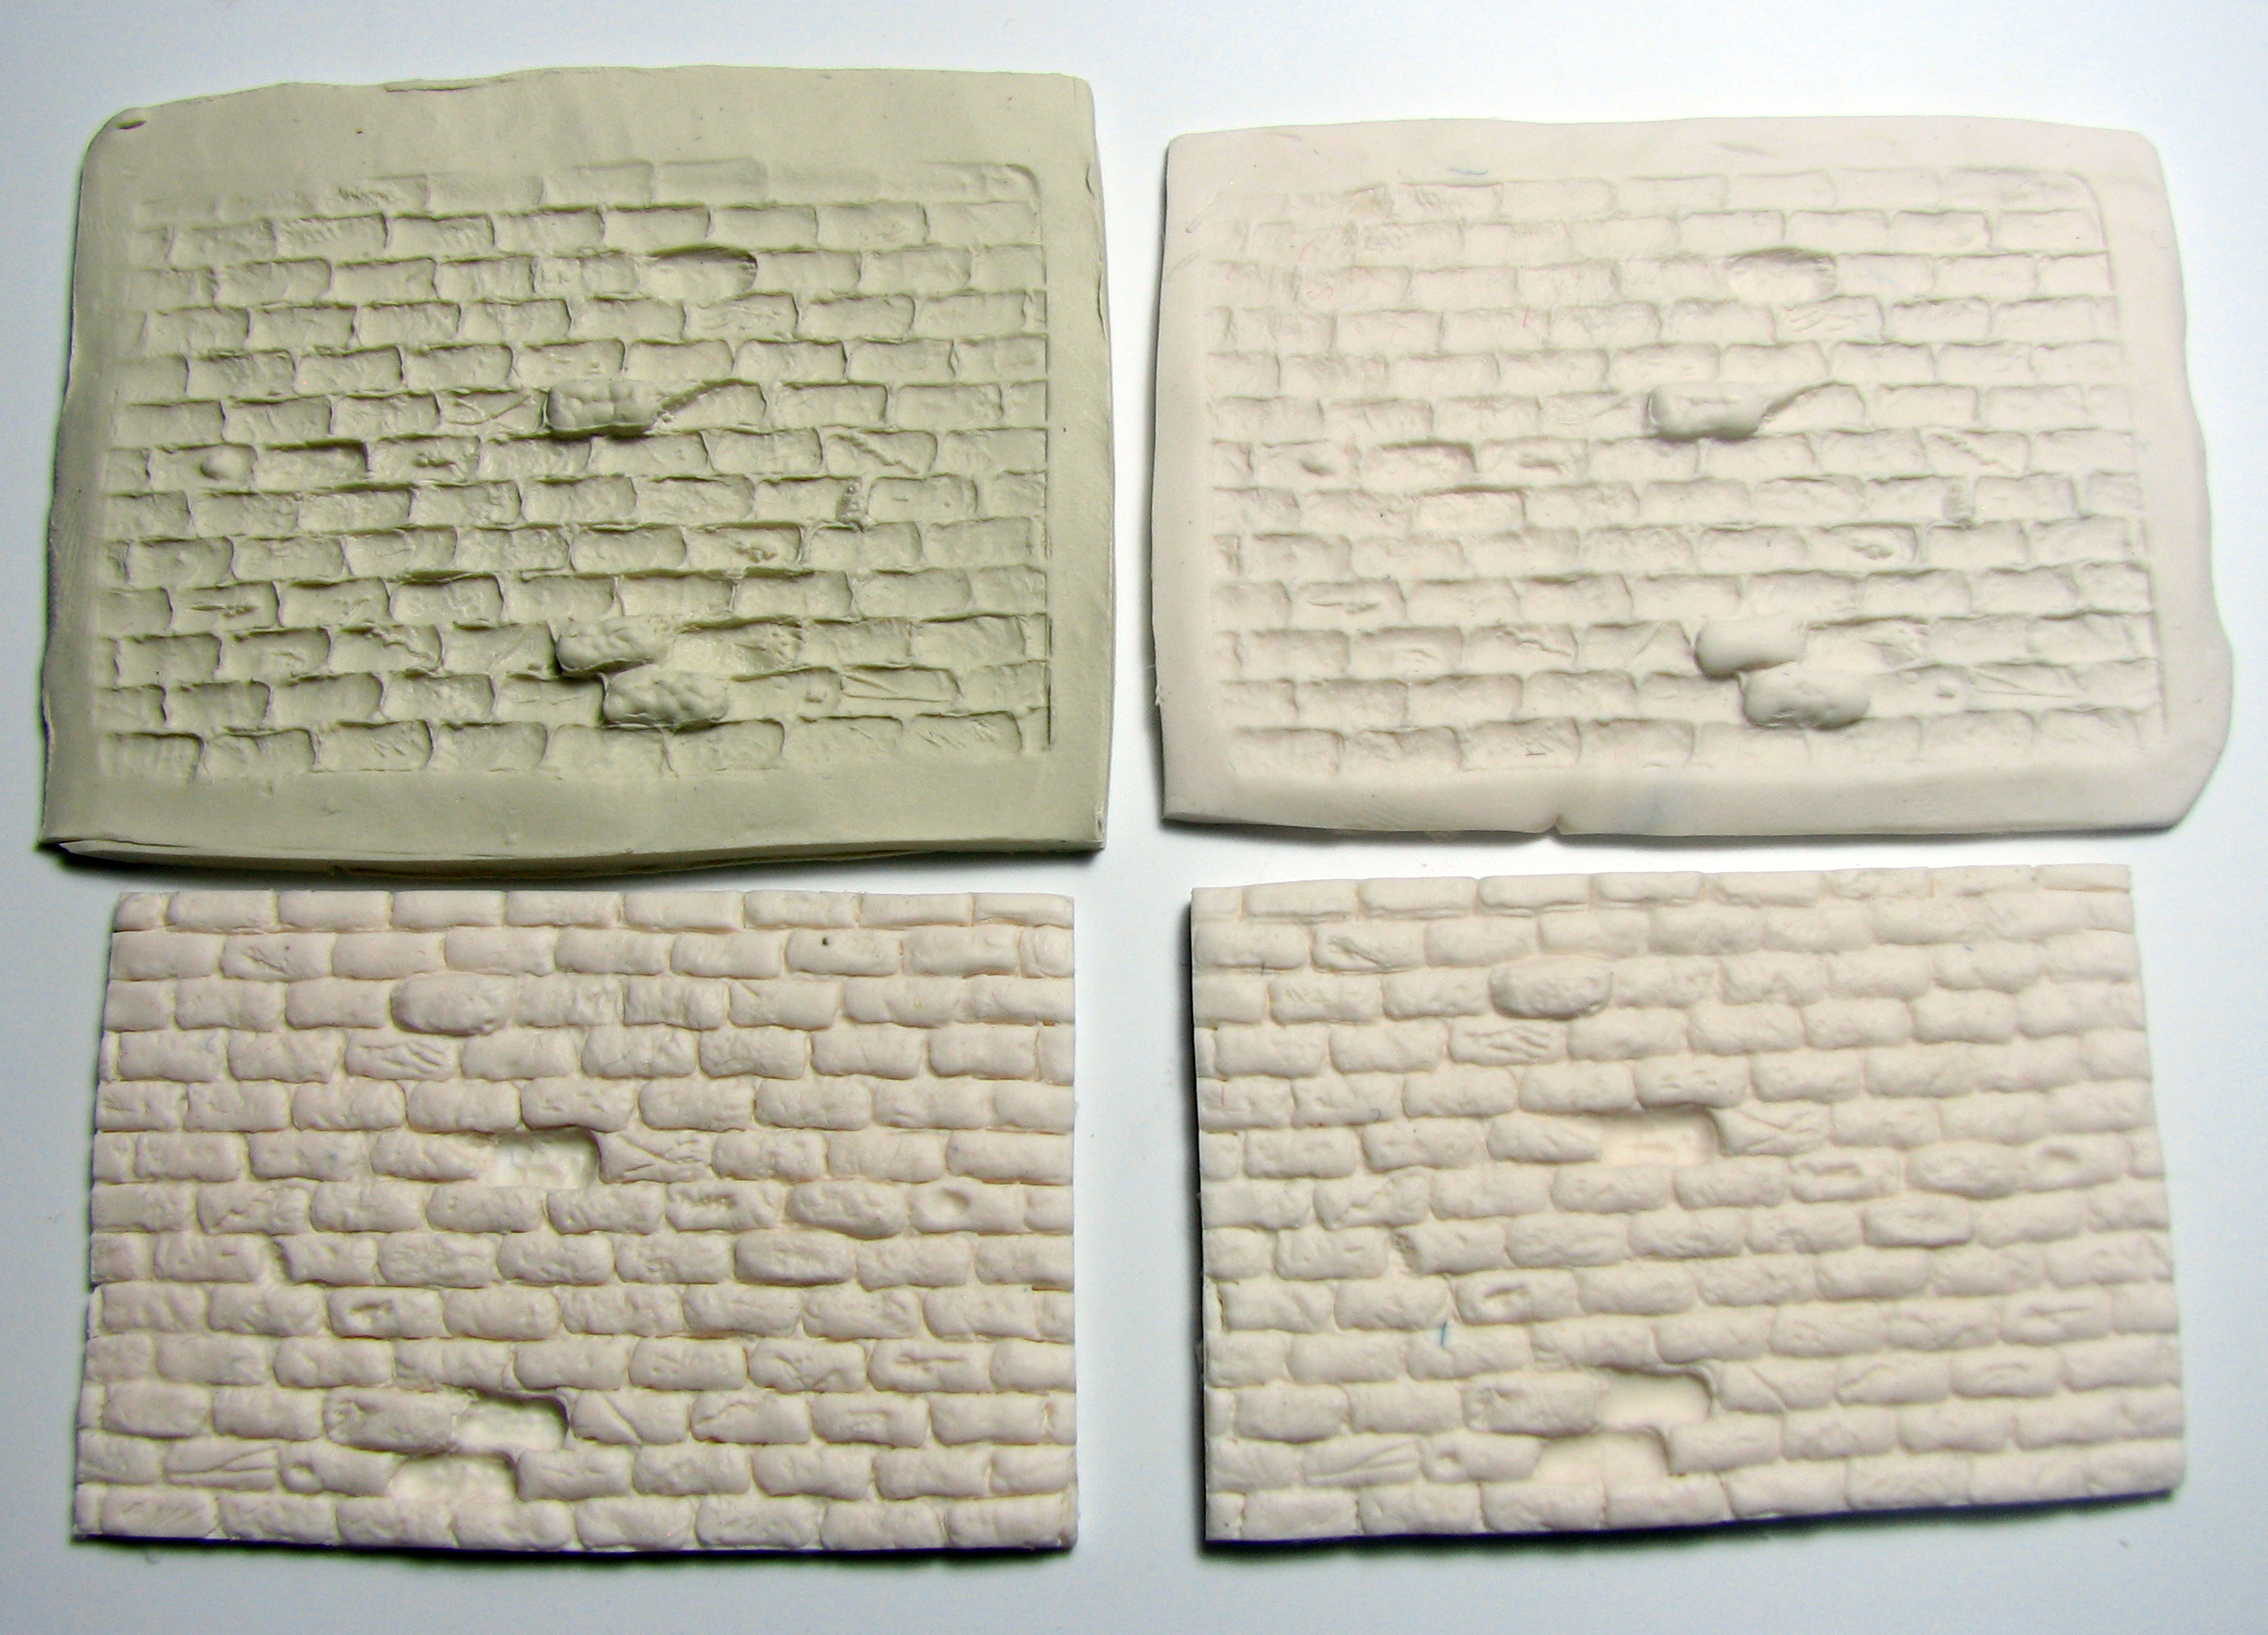
Comparison with other techniques
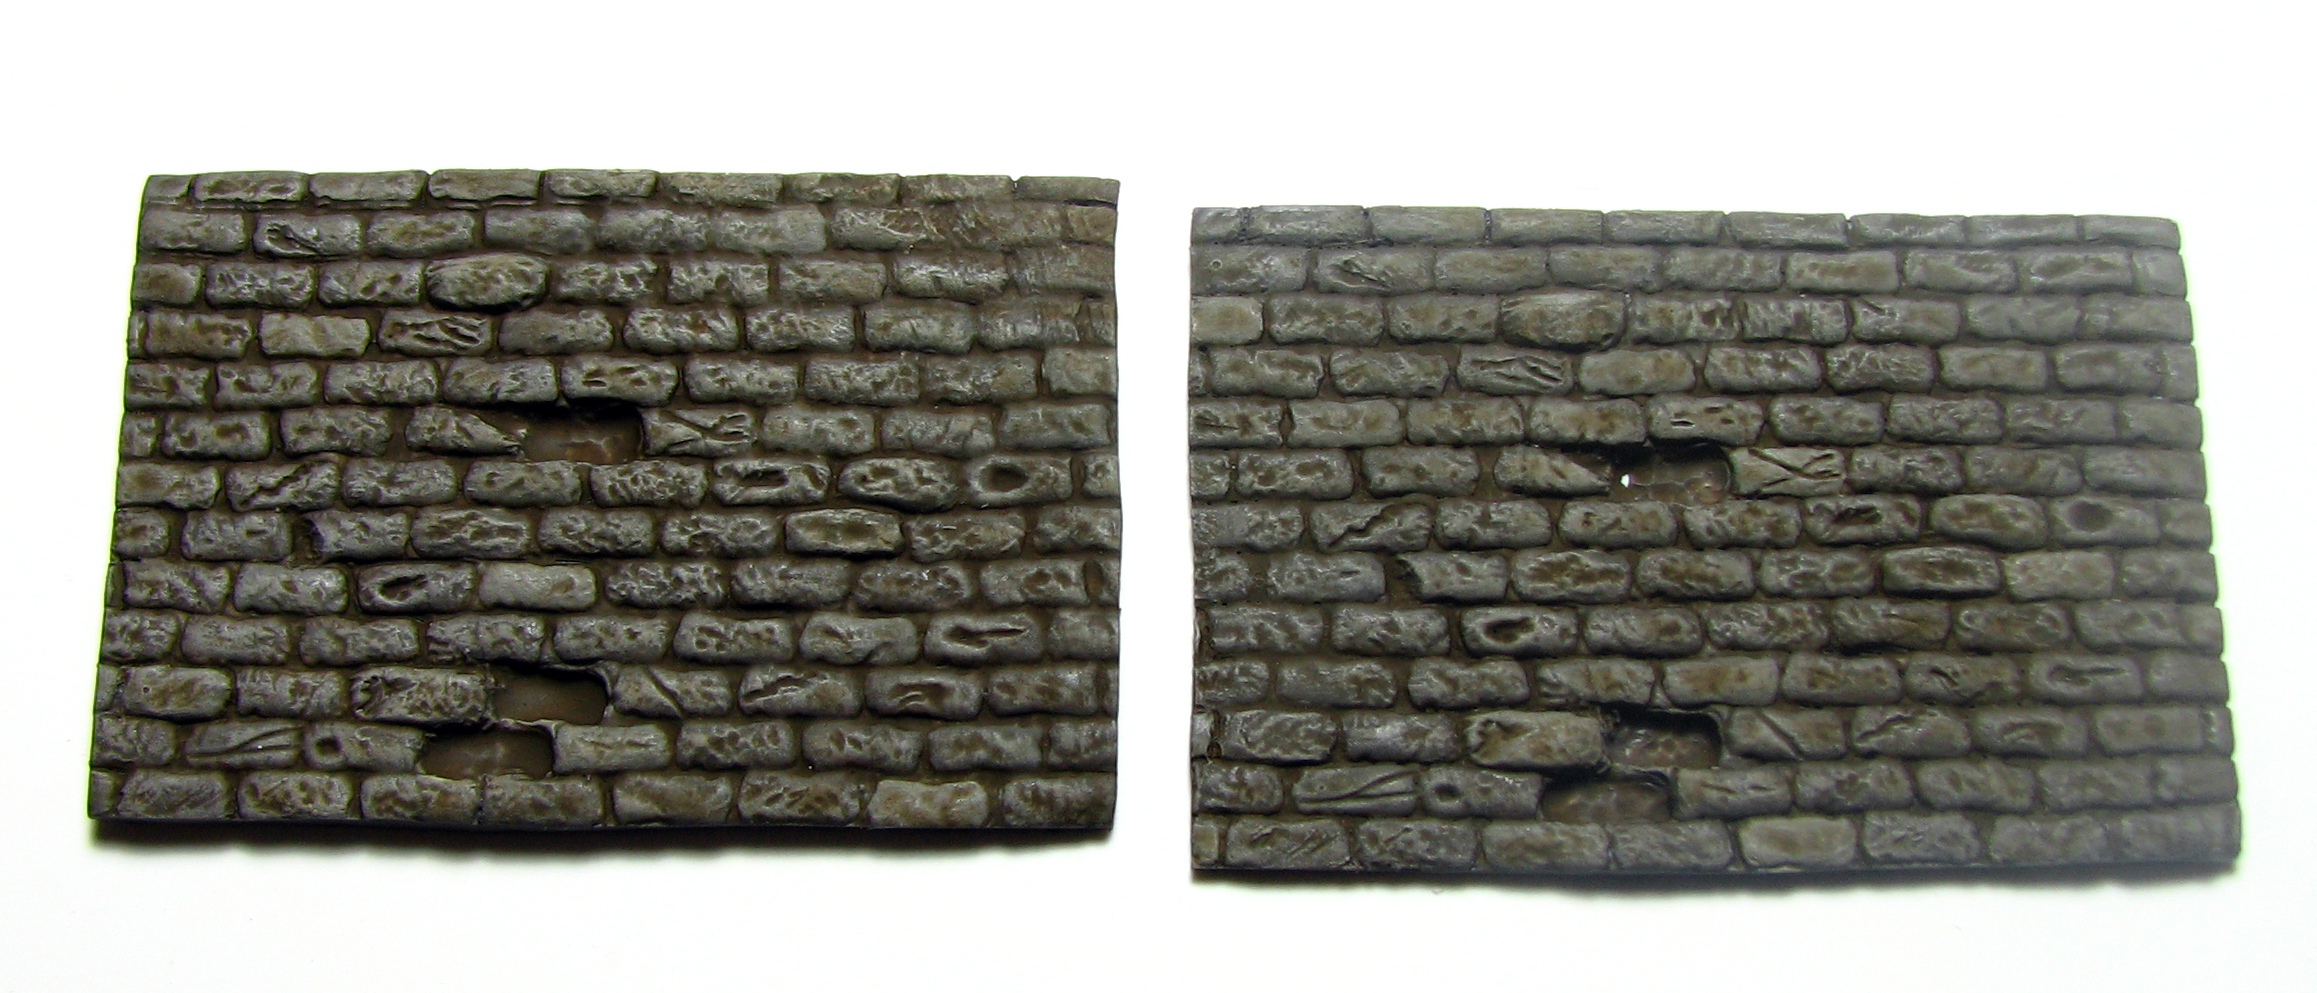
To find the perfect technique for my dungeon project I did experiment with some other methods, too, but found the press mold one to be the most versatile, as one can control every aspect of the final piece.
I tried the brick cutters on styrofoam which provided a nice result, but the styrofoam tends to crack sometimes, which gives a slightly odd appearance. Further the piece is not as three-dimensional as the sculpted ones and less sturdy (if you hit it with a miniature while gaming you might indent it).
I also sculpted another wall segment free hand using Original Sculpey. While this provided flatter stones the dragging problem remains, but led to a “rough” edges finish, which might be something to keep in mind depending on the atmosphere one would like to go for.

Some other pieces I made
While I was at it I tried my hand on some other stuff: Lion heads for fountains, shields for my 15mm Iberian troops, some more wall segments with flatter bricks, large stone slab walls, a three-part piece to make protruding wall elements and cobblestone bases. I’ll paint them up and will post pictures in some future post.

List of helpful and inspiring links
CoolMiniOrNot – Making a greenstuff press mold
Rust and the City Blog – Brick basing with press molds
You Tube Tutorial by Corvus Miniatures – Making greenstuff press molds
If you would like a constantly updated, themed PDF terrain building, painting and roleplaying guide consider supporting me on Patreon. There also other choice rewards for supporters.
![]()
If you are not keen on Patreon, but enjoy my content and would like to see me well caffeinated so that I can publish tutorials, reviews and guides more frequently click below and buy me cup of dark, mellow goodness.
![]()

Great tutorial! I’m going to give this a try. Thanks!
LikeLike
Glad you like the tutorial! I’ll be interested to see what you come up with :).
LikeLike
I’m thinking this might work for creating stone and brick building walls for a 20mm Normandy project I’m working on. And slate roofs, for that matter. I’m assuming the clay can be cut, once dry, though maybe cutting will require the use of a dremel tool.
LikeLike
I am sure it will work for such a project. Fimo Soft and Sculpey retain some flexibility after baking and can be cut easily with an X-acto knife. You can even shave away very small stripes of material. With airdry clay this is more of an issue, as the stuff I got is super brittle. Might be good for bases if you don’t touch the clay after it hardened, but I’ll stick to polymer clays. I know there are some good doll maker airdry clays, but I have to source them here first, so that might be an option to save some money.
LikeLike
Excellent. Thanks for the advice on materials. I’ll be sure to blog my results.
LikeLike
Fantastically useful tutorial. I did something similar for my wicker hurdle panels, but used a two-pack silicone rubber for the mould. This looks equally effective and much less expensive. I might have a go!
LikeLike
Hi Mitch. Glad the tutorial is of use to you. I’ll be interested to see what you come up with! As long as the object has not a lot of undercuts one can mold and cast pretty much everything.
LikeLike
Those are excellent, thanks for posting the tutorial! I’ll have to try your technique sometime and finally get serious on a 3D tile set for dungeon crawling.
LikeLike
Thank you! There can never be enough Dungeons around. Looking forward to see your one in some point.
LikeLike
Pressen! PRESSEN! Sorry 😛 these are awesome, with really nice details on the small bricks. I love how the lion heads worked so well for simple press moulding!
LikeLike
Thank you. I realised that the lion head slightly expanded due to the pressure and the silicon giving way. They look now a bit more rounded. Well nourished lions are in any case better.
LikeLike
Have you tried thermosoftening plastic for press moulds? I just bought some Oyumaru and got great results even on the first try!
LikeLiked by 1 person
Never thought about it, but that sounds like a great idea. Dies it hold all the detail?
LikeLike